For virtual golf, ensuring the impact screen is appropriately placed not only safeguards your space from potential damage but also guarantees an immersive playing experience. Proper placement of your impact screen is very important.
In this article, we will explore exactly how far the screen should be placed from the back wall to increase the safety and enjoyment of your virtual experience. We will also answer some commonly asked questions to ensure everything is covered and that you’re ready to optimize the placement of your screen.
- 1) How Far Should an Impact Screen Be from The Wall?
- 2) Benefits of Having a Buffer Space Between the Screen and the Wall
- 3) Consequences of Improper Impact Screen Placement
- 4) Installation and Mounting Considerations
-
5)
Frequently Asked Questions
- 5.1) What is the ideal distance between an impact screen and the wall?
- 5.2) How does room size affect impact screen placement?
- 5.3) What projector specifications should I consider when determining screen distance?
- 5.4) Can I place my impact screen closer to the wall to save space?
- 5.5) How do I ensure my impact screen is properly aligned and leveled?
- 5.6) Are there any special considerations for placing an impact screen in a small room?
- 6) Final thoughts
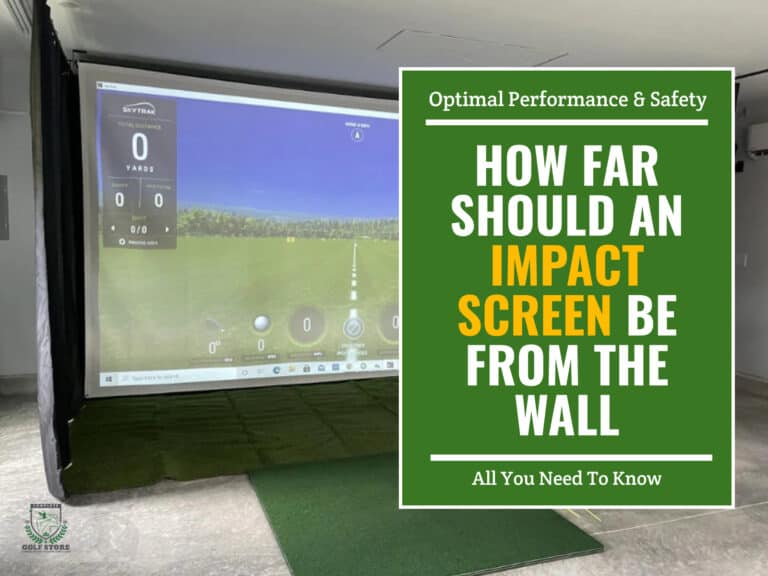
How Far Should an Impact Screen Be from The Wall?
You’ve got your impact screen and projector ready to go, but now comes the million-dollar question: how far should that screen be from the wall? Get too close, and you might end up with a golf ball-shaped dent in your drywall. Too far, and you’ll lose out on image quality and the immersive feel of your golf simulator.
Recommended Distance Between Impact Screen and Back Wall
As a general rule of thumb, aim to leave at least 12 inches (30 cm) of space between your impact screen and the wall behind it. This buffer zone gives you the breathing room you need for optimal performance and safety.
Why 12 inches? It’s the sweet spot that balances image quality, sound performance and protection for both your screen and your walls. Additionally, it leaves you enough room to access the back of the screen for maintenance, cleaning and repairs without having to perform yoga-like contortions.
With that said, the required distance ranges between 12″ (the absolute minimum) and 18″.
Another crucial factor to consider is planning your home golf simulator space. This comprehensive guide dives into essential room dimension considerations to ensure a comfortable and functional golfing experience.
Recommended Distances for Multisport Systems (Football, Soccer, etc.)
For multisport use, the recommended distance between the impact screen and the wall varies depending on the specific sports and the intensity of the activities.
As a general guideline, a minimum distance of 12 to 18 inches (30 to 45 cm) is suggested to accommodate a wider range of sports and provide a safer buffer zone. For high-impact sports like football or soccer, where kicks and throws can generate significant force, increasing the distance to 18 to 24 inches (45 to 60 cm) is advisable.
When setting up a multisport impact screen, consider the largest ball size and the most forceful actions expected during practice sessions to determine the appropriate distance.
Benefits of Having a Buffer Space Between the Screen and the Wall
Here are some benefits of leaving some space between your impact screen and the back wall:
Improved Sound Quality
When your impact screen is too close to the wall, you might notice a muffled or echoing sound as the balls hit the screen. That buffer space helps absorb those sound waves, giving you a clearer, more realistic audio experience.
Enhanced Safety for Players and Equipment
Golf balls can pack a serious punch, especially when you’re practicing your driver shots. By keeping your screen at a safe distance from the wall, you reduce the risk of damage to your screen, projector and the wall itself.
Think of it as a safety net for your investment.
Easier Access for Maintenance and Repairs
No matter how well you take care of your impact screen, there will come a time when you need to perform some maintenance or repairs.
Having that extra space behind the screen makes it much easier to access the back panel, check connections and make any necessary adjustments without having to move the entire setup.
For a wider selection of projector screens that fit perfectly with your golf simulator needs, check out our guide on the best golf simulators projector screens.
Consequences of Improper Impact Screen Placement
If you fail to have the required space between the wall and the screen, you could face all kinds of issues. Here are a few examples:
Decreased Performance and Accuracy
If the impact screen is placed too close to the wall, it can affect the accuracy of ball flight tracking and simulation results.
Insufficient space between the screen and the wall may cause the ball to ricochet unpredictably, leading to inaccurate readings and a less realistic experience. Improper placement can also cause the screen to sag or wrinkle, creating an uneven surface that further compromises performance and accuracy.
Increased Risk of Damage to the Screen, Wall or Surrounding Objects
When the impact screen is positioned too close to the wall, there is a higher risk of the ball striking the wall directly or ricocheting with increased force. This can lead to damage to the screen itself, such as tears, punctures, or stretching, reducing its lifespan and effectiveness.
The wall behind the screen may also suffer damage, including dents, cracks or chipped paint, especially if it’s not reinforced or protected.
Nearby objects, such as furniture, electronics or decorations, are more susceptible to being hit by stray balls if the screen is too close to the wall.
Potential Safety Hazards for Users
Improper impact screen placement can create safety hazards for users, particularly in high-impact sports or with more powerful strikes. If the screen is too close to the wall, balls may ricochet back towards the user with increased speed and force, posing a risk of injury.
Installation and Mounting Considerations
You’ve calculated the perfect distance for your impact screen, but before you start swinging, you need to consider the installation and mounting options. The right setup will provide a stable, secure foundation for your screen, allowing you to focus on your game without worrying about mishits or equipment damage.
Wall-Mounted Impact Screens
Wall-mounted screens are a popular choice for golf simulators, as they offer a clean, space-saving solution. To install a wall-mounted screen, you’ll need to:
- Locate the studs in your wall using a stud finder.
- Mark the mounting points for your screen bracket, ensuring they’re level.
- Drill pilot holes and secure the bracket to the wall with heavy-duty anchors and screws.
- Attach the impact screen to the bracket according to the manufacturer’s instructions.
Keep in mind that wall-mounted screens may require additional reinforcement.
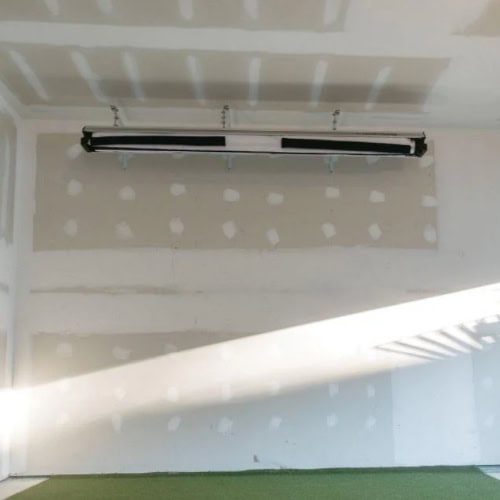
Ceiling-mounted impact screens
Ceiling-mounted screens are another option for golf enthusiasts looking to maximize their space. This setup involves suspending the screen from the ceiling using cables or chains. To install a ceiling-mounted screen, follow these steps:
- Locate the joists in your ceiling and mark the mounting points for your screen’s hanging hardware.
- Drill pilot holes and secure the hanging hardware to the joists using heavy-duty anchors and screws.
- Attach the cables or chains to the impact screen’s grommets or mounting points.
- Hang the screen from the ceiling hardware, adjusting the height and level as needed.
Ceiling-mounted screens offer flexibility in terms of placement, but they may require more effort to install and adjust compared to wall-mounted options.
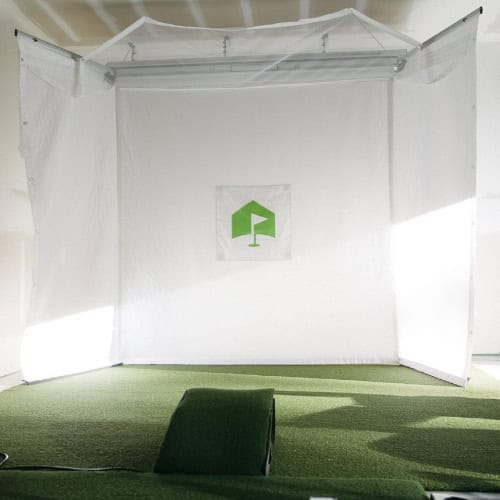
Freestanding impact screens
Freestanding screens are a versatile choice for golf simulators, as they can be easily moved and stored when not in use. These screens typically come with a sturdy metal frame and a weighted base to prevent tipping.
To set up a freestanding impact screen:
- Assemble the frame according to the manufacturer’s instructions.
- Attach the impact screen to the frame using the provided hooks, clips, or grommets.
- Position the screen in your desired location, ensuring it’s level and stable.
Freestanding screens offer the most flexibility in terms of placement, but they may require more floor space compared to wall-mounted or ceiling-mounted options.
Choosing the right option depends on your room size, playing style, and budget. For a detailed breakdown of the golf simulator impact screens & enclosures available, including their mounting requirements, check out our related article.
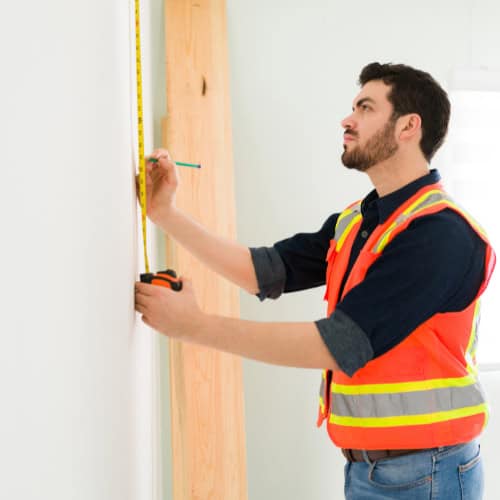
Ensuring Proper Alignment, Leveling and Centering
No matter which mounting option you choose, it’s crucial to ensure your impact screen is properly aligned and leveled. A misaligned or tilted screen can lead to inaccurate ball flight data and a less immersive experience.
To check your screen’s alignment:
- Use a spirit level to verify that the top and bottom edges of the screen are horizontal.
- Measure the distance from each corner of the screen to the floor, ensuring they’re equal.
- Make adjustments to the screen’s position or mounting hardware as needed.
By taking the time to properly install and align your impact screen, you’ll lay the groundwork for a golf simulator that delivers realistic, engaging gameplay for years to come.
Frequently Asked Questions
The following are some of the most frequently asked questions about sim screen placement in general. We provided answers to help you make sure all aspects of the topic are covered in this article.
What is the ideal distance between an impact screen and the wall?
The ideal distance between an impact screen and the wall is at least 12 inches (going up to 18″). This buffer space helps improve sound quality, enhances safety for players and equipment and allows easier access for maintenance and repairs.
How does room size affect impact screen placement?
Room size plays a significant role in impact screen placement. Larger rooms offer more flexibility in terms of screen size and viewing distance, while smaller spaces may require more creative solutions, such as using short-throw projectors or opting for a smaller screen.
What projector specifications should I consider when determining screen distance?
When determining screen distance, consider your projector’s throw ratio and lens shift capabilities. The throw ratio determines the distance required between the projector and screen to achieve a specific image size, while lens shift allows you to adjust the image position without moving the projector.
Can I place my impact screen closer to the wall to save space?
While placing your impact screen closer to the wall may save space, it’s not recommended. Insufficient buffer space can lead to poor sound quality, increased risk of damage to your equipment and difficulty accessing the back of the screen for maintenance.
How do I ensure my impact screen is properly aligned and leveled?
To ensure proper alignment and leveling, use a spirit level to check that the screen’s top and bottom edges are horizontal. Measure the distance from each corner of the screen to the floor, making sure they’re equal.
Are there any special considerations for placing an impact screen in a small room?
When placing an impact screen in a small room, consider using a short-throw projector to achieve a larger image from a shorter distance. Opt for a smaller screen size to maintain proper viewing distance and ensure adequate space for your golf swing. Freestanding or ceiling-mounted screens may also be preferable to maximize available space.
Final thoughts
As you can see, proper screen placement is a very important consideration while installing you golf sim. The space between the wall and screen is especially important, as failing to have enough space there can cause various issues and might even be dangerous.
We hope this article provided everything you need about proper screen placement, and that you’ll be able to mount your sim package with confidence, knowing that all precautions are taken to avoid any mishaps or accidents.
If you still have any questions, don’t hesitate to leave them in the comments section below.
Happy golfing!